Showing posts with label before/after. Show all posts


Monday, June 13, 2011

Nature's Love

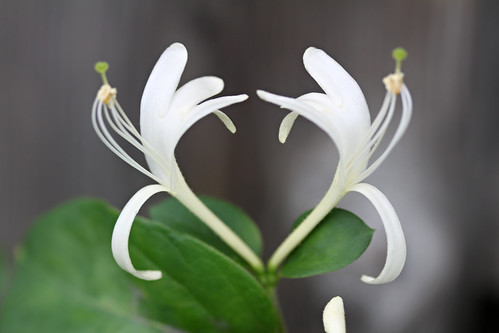
I spotted this pair breaking out of a fence's containment.  Their roots remain inside, but the blooms are free to soak up the uninhibited sun.
SOOC:
before 0284
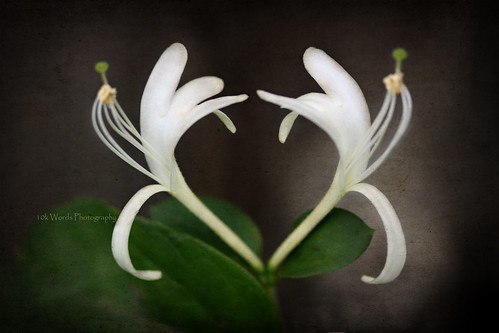
I always start by adjusting the levels of the photo (draw the outer two bars to the beginning of the black 'hill' and drag the middle bar in both directions until the photo's tones are what you like). I cloned over the lower petal, as it was a bit distracting from my focal point.  Kim Klassen's "Mayzee" texture overlay gave the image drama.  I polished it with MCP Action's "High Definition Sharpening."

after/texture 0284kimklassencafe

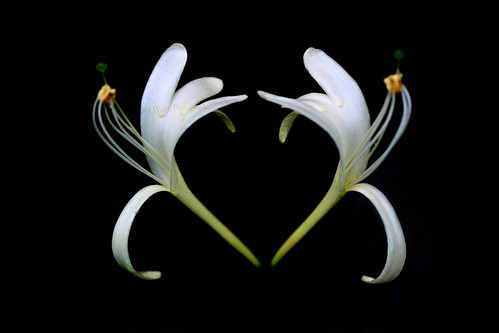
The second edit was actually quicker.  I simply adjusted the layers until the background (a brown fence) was completely darkened.  A little cloning over any lighter spots that remained and a quick MCP polish completed the look. 

after/dark 0284Touch Up Tuesday's at the Paper Mama 

Tuesday, January 18, 2011

Shoot and Edit: Good Morning!

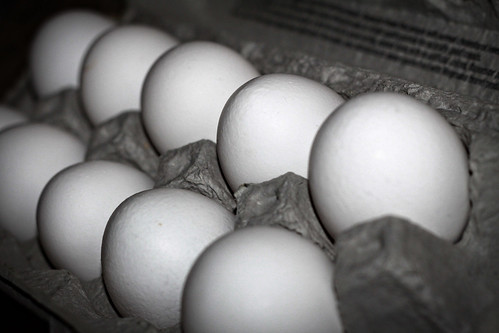
In the beginning there were eggs. {laugh, chuckle, chortle}
1.17.eggs
And then, in the stress of the morning rush, they cracked up.
They were totally fried and it wasn't even 10 a.m.!
1.17.11 (86)
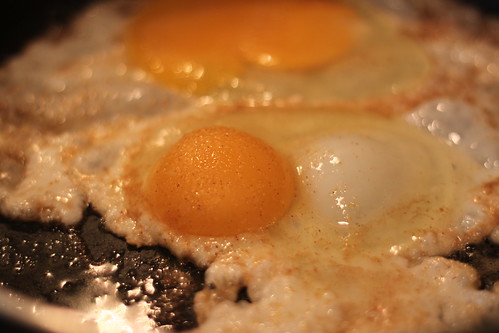
There's nothing special about the straight out of camera picture. Just two eggs in a frying pan.  The crop is terrible (I wanted a sharp yolk).  When I opened it in PhotoShop, it was ugly.

I had to fix the yellow hue using the saturation commands.  I suppose that I could do this in camera with white balance, but I didn't.  Once the whites were white, I toyed a bit with the levels to fix the exposure. 

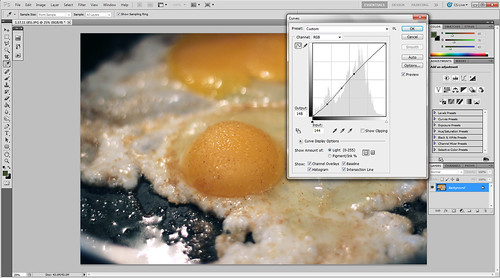
Next, I fiddled with the curves, trying to improve the highlights.
egg curves

In the Image Adjustments options, I changed Vibrance to +12 and raised color Saturation (yellow only, +12).  Note: It may be better to do this in a layer, as it allows you to 'erase' the saturation in selected areas (select paint brush tool and use black color on the white layer).

I didn't like that the skillet's rim was showing (and blurry at that!), so I cropped to 5x7.  Then I used the burn tool to darken the area around the yolk and pump color.

Finally, I applied an Unsharp mask (+12).
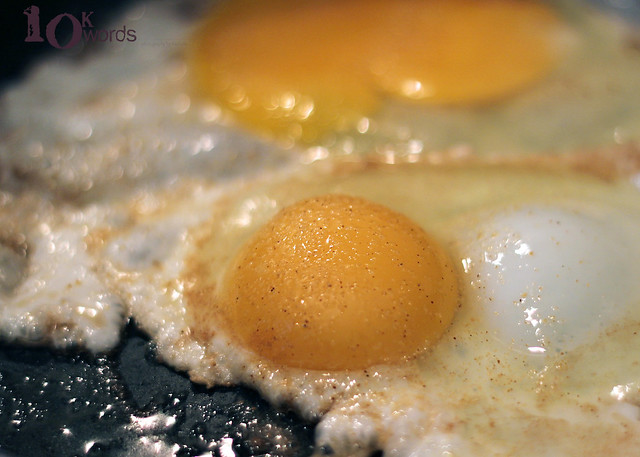
1.17 sunny side
And there you have it on the sunny side...
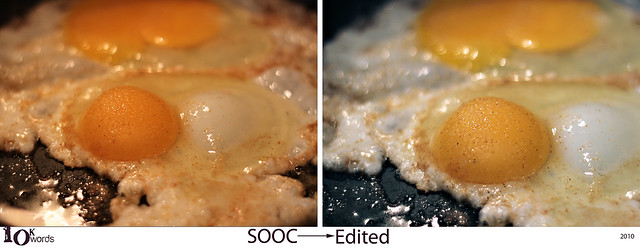
sooc to edit
Now, let's shoot with FNAP and edit with AS!

Saturday, January 15, 2011

SOOC -> a little Pumped

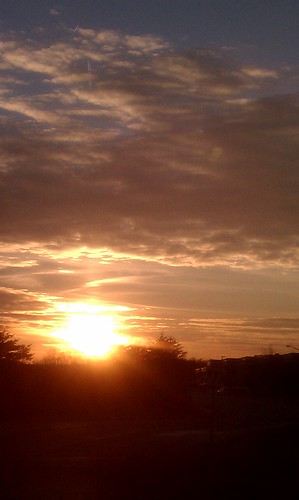
I took a photo yesterday because Chi saw the sun setting on the way to TKD and said "Mom, take a picture. I want to paint that."  Unfortunately, I was driving.  And though I am a multitasker, there's something that screams dangerous and stupid about trying to coax a cell phone from my pocket while strapped in my seatbelt and waiting to make a turn with at least three impatient people behind me.  So I didn't take the picture. 

I knew she was disappointed when she jumped from my still rolling car and headed into class.  So Ya and I parked and walked back to the turn lane.  We stood on the raised median, and I snapped a shot of Chi's inspiration.  And then we quickly went into the Dojang because it was cold outside.

I've yet to try to take out the phone's memory card, so I uploaded the photo directly to my Flickr account.  I was pretty satisfied with the SOOC image my phone captured.  But, I thought I might play a bit.

My editing efforts:
The first thing I checked when I downloaded the photo and opened it in PhotoShop (CS5) was the levels.  I learned a long time ago that if you slide the arrows to where the black "mountains" start on each side, you find the data for a better picture exposure.  Or something like that.  My levels straight from the camera were perfect.

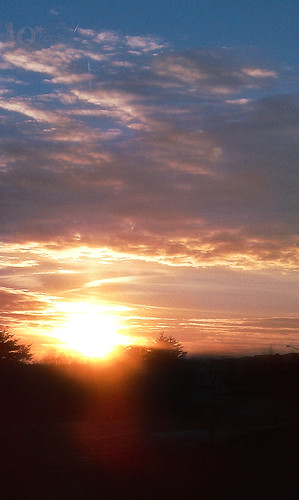
I thought the sky itself needed a boost in blue, so I created a vibrance layer and set it to Vibrance +15.  Another layer for Photo filter Cool (82) and raised it from the default 25% until I liked the pop in blue tone. 
This also changed the sun rays, which was not cool.  Because I used layers, though, I could use the paintbrush  (set to black) to 'unfilter' the sun and a few cloud highlights.
I elected to burn the lower portion of the image (foreground) to lessen visibility of buildings and street lights.  It'd have been nice to simply move to a field or something to take the photo, but it just wasn't possible.
I created a Saturation layer (and raised it +8) and on the same layer, played with Lightness (set to +2).
Finally, I tweaked the photo using curves (simply moved the arch until I liked the highlights on the clouds).

Sunset over 'Bridge sunset 1.14.11
I miss the original photos rays, which seems to blur a bit in the edit.  I also could not get the band of purple that was painting the sky to show itself.