


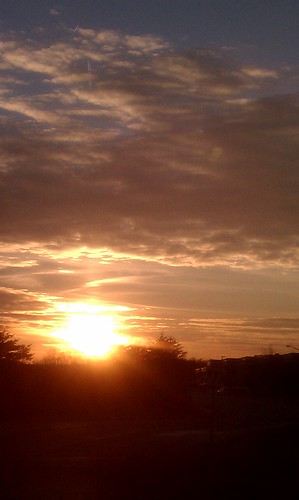
I knew she was disappointed when she jumped from my still rolling car and headed into class. So Ya and I parked and walked back to the turn lane. We stood on the raised median, and I snapped a shot of Chi's inspiration. And then we quickly went into the Dojang because it was cold outside.
I've yet to try to take out the phone's memory card, so I uploaded the photo directly to my Flickr account. I was pretty satisfied with the SOOC image my phone captured. But, I thought I might play a bit.
My editing efforts:
The first thing I checked when I downloaded the photo and opened it in PhotoShop (CS5) was the levels. I learned a long time ago that if you slide the arrows to where the black "mountains" start on each side, you find the data for a better picture exposure. Or something like that. My levels straight from the camera were perfect.
I thought the sky itself needed a boost in blue, so I created a vibrance layer and set it to Vibrance +15. Another layer for Photo filter Cool (82) and raised it from the default 25% until I liked the pop in blue tone.
This also changed the sun rays, which was not cool. Because I used layers, though, I could use the paintbrush (set to black) to 'unfilter' the sun and a few cloud highlights.
I elected to burn the lower portion of the image (foreground) to lessen visibility of buildings and street lights. It'd have been nice to simply move to a field or something to take the photo, but it just wasn't possible.
I created a Saturation layer (and raised it +8) and on the same layer, played with Lightness (set to +2).
Finally, I tweaked the photo using curves (simply moved the arch until I liked the highlights on the clouds).
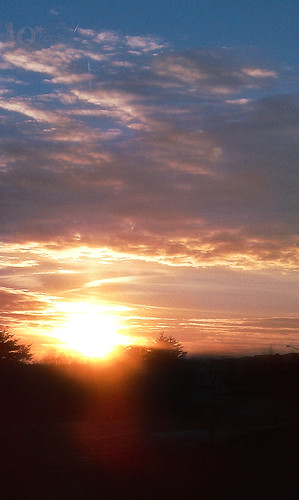
I miss the original photos rays, which seems to blur a bit in the edit. I also could not get the band of purple that was painting the sky to show itself.


No comments:
Post a Comment